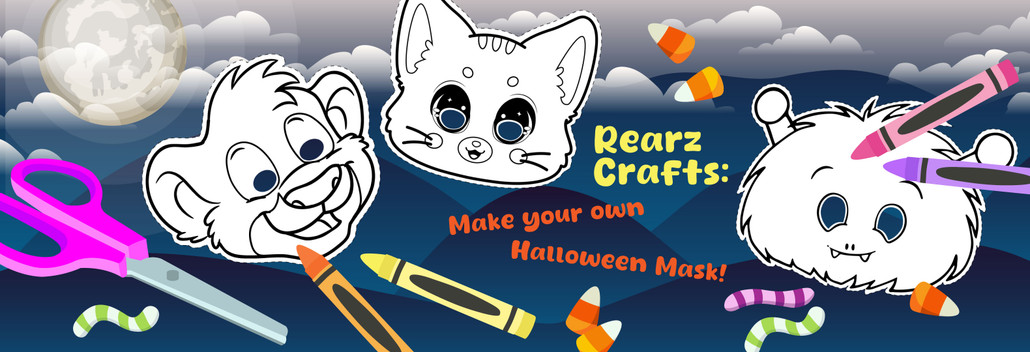
Rearz Crafts: DIY Halloween Mask
Posted by E on 2024 Oct 28th
Hey there, Rearz friends! Are you excited to make a super cute or super cool paper mask just in time for Halloween? It’s so much fun and easy peasy! Plus, it’s a perfect activity for mommy and me or daddy and me time! And great as a mommy and me or daddy and me activity! Are you ready? Let’s get started!
Downloadable Rearz Character Mask Templates:
Sakura the Cat (Purrfection)
Puffy (Lil Monsters)
Griffin the Lion (Safari)
How to Print Your Mask:
- Open your document: Start by opening the document you want to print.
- Select Print: Go to the “File” menu and click on “Print” or press Ctrl + P (Windows) or Cmd + P (Mac).
- Choose Printer: Select the printer you want to use from the list of available printers.
- Scale the Document: Find the “Scale” or “Fit to Page” option. Set the scale percentage to enlarge your document (e.g., 150% or 200%).
- Preview Your Print: Check the print preview to ensure everything looks right.
- Print: Click “Print” to start printing your larger-sized document.
What You’ll Need:
- A printed mask template (you can use one of our characters or draw your own)
- Sturdy paper or cardstock (white or any colour you like)
- Scissors
- Pencil
- Markers, crayons, or coloured pencils (for decorating)
- Glue or tape
- Elastic string or ribbon (optional)
- Hole punch (optional)
Steps to Create Your Mask Together:
- Print the Template:
- First, pick a fun mask template you like and print it out (you might want to ask mommy or daddy for a little help with this part). If you’re feeling extra creative, you can draw your own design on a blank piece of paper!
- Trace the Template:
- Now, let’s place the template on your sturdy paper. Use a pencil to trace around it carefully—don’t forget those eye holes! This is a great time for mommy or daddy to help steady the paper.
- Cut It Out:
- Grab your scissors, and together, carefully cut along the lines you just traced. Be extra cautious around the eye holes! This part is fun to do together!
- Decorate Your Mask:
- Here comes the super fun part! Use markers, crayons, or coloured pencils to decorate your mask. You can add patterns, bright colours, or even some sparkly stickers. Make it as unique as you are!
- Make It Stand Out:
- Want to make your mask even more special? Add some extra decorations like feathers, glitter, or sequins! Just glue them on and watch your mask pop!
- Add a Strap:
- Ready to wear your mask? Punch holes on each side with a little help, then cut a piece of elastic, string, or ribbon to tie through the holes. If you don’t have a hole punch, don’t worry! You can just glue or tape the string to the back of the mask.
- Final Touches:
- Check your masterpiece together! Make sure everything is glued down and dry. Adjust any parts if needed!
- Wear Your Mask:
- Once your mask is ready, put it on and show it off to your friends and family! You can pretend to be your favourite character or animal. It’s time to shine!
Tips:
- Get creative! You can make a cat, a superhero, or even a silly monster mask!
- Why not make matching masks for a fun family activity or party with your friends?
Have a blast making your paper masks together! We’d love to see your masks, be sure to tag us on social media
Bye for now!


